VoiceClone and XTTS Setup
You can skip to the bottom if you simply want to use an existing XTTS voice model.
Preamble
Hey commanders, welcome back from the black. After struggling for an unreasonable amount of time, I have finally managed to get Covas set up with the specific voice that I want. I figured that with the pain I went through to accomplish that, I would make a bit of a guide documenting my set up and how I accomplished it. It is likely far from ideal, and there are probably easier methods, but this is how I did it.
As a note, we are going to be using WSL and windows for this, but all of the software runs on linux as well, this should work there as well.
Firstly, we are going to need to set up our environment. We are going to head into control panel, then into programs, then "Turn Windows Features On or Off." In this menu, we want to enable both Virtual Machine Platform and Windows Subsystem for Linux. If this is your first time enabling them, you may need to restart after this step.
Next we are going to head over to docker.com and download the installer. As I already have it set up, I wont be running through the install process in detail here. The only thing to note is that, when you are installing it, make certain to have the box checked to use WSL2 as your backend. Once you have it installed, you may need to log out or restart.
We are now going to set up what you will be using to train your voice model: The Alltalk V2 beta.
Training
This section is for if you want to train your own model. Ignore and move on if you have your own model!
Click here to show training instructions. Expect scuff ahead.
## Setting up Alltalk Before installing AllTalk, ensure you have the following: * Git for cloning GitHub repositories. * Microsoft C++ Build Tools and Windows SDK for proper Python functionality. [Installation instructions](https://github.com/erew123/alltalk_tts/wiki/Install-%E2%80%90-WINDOWS-%E2%80%90-Python-C-&-SDK-Requirements) * Espeak-ng for multiple TTS engines to function. [Installation instructions](https://github.com/erew123/alltalk_tts/wiki/Install-%E2%80%90-WINDOWS-%E2%80%90-Espeak%E2%80%90ng) If you already have these installed, you can proceed directly to the Quick Setup instructions. Open Command Prompt and navigate to your preferred directory: cd /d C:\path\to\your\preferred\directory Clone the AllTalk repository: git clone -b alltalkbeta https://github.com/erew123/alltalk_tts Navigate to the AllTalk directory: cd alltalk_tts Run the setup script: atsetup.bat Follow the on-screen prompts: * Select Standalone Installation and then Option 1. * Follow any additional instructions to install required files. ## Step One: Creating samples for our dataset From here we are ready to begin creating our voice model. The first thing you will want to do is get a wav file of the voice you want to clone and place it in the voices folder of your Alltalk installation. An important thing to note here is that you typically want a minimum of 2 minutes of total audio samples (Alltalk won't even allow you to proceed without this minimum met). If you have enough audio of the voice you want to train, you can skip the first portion and go stright to training. That is typically pretty easy to meet if you have the dumped audio files for a character from a game, as an exmaple.Screenshot
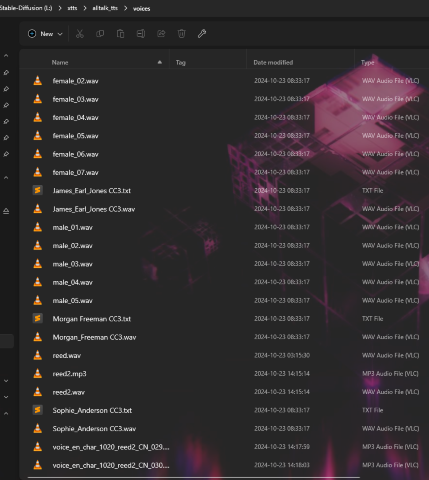Screenshot
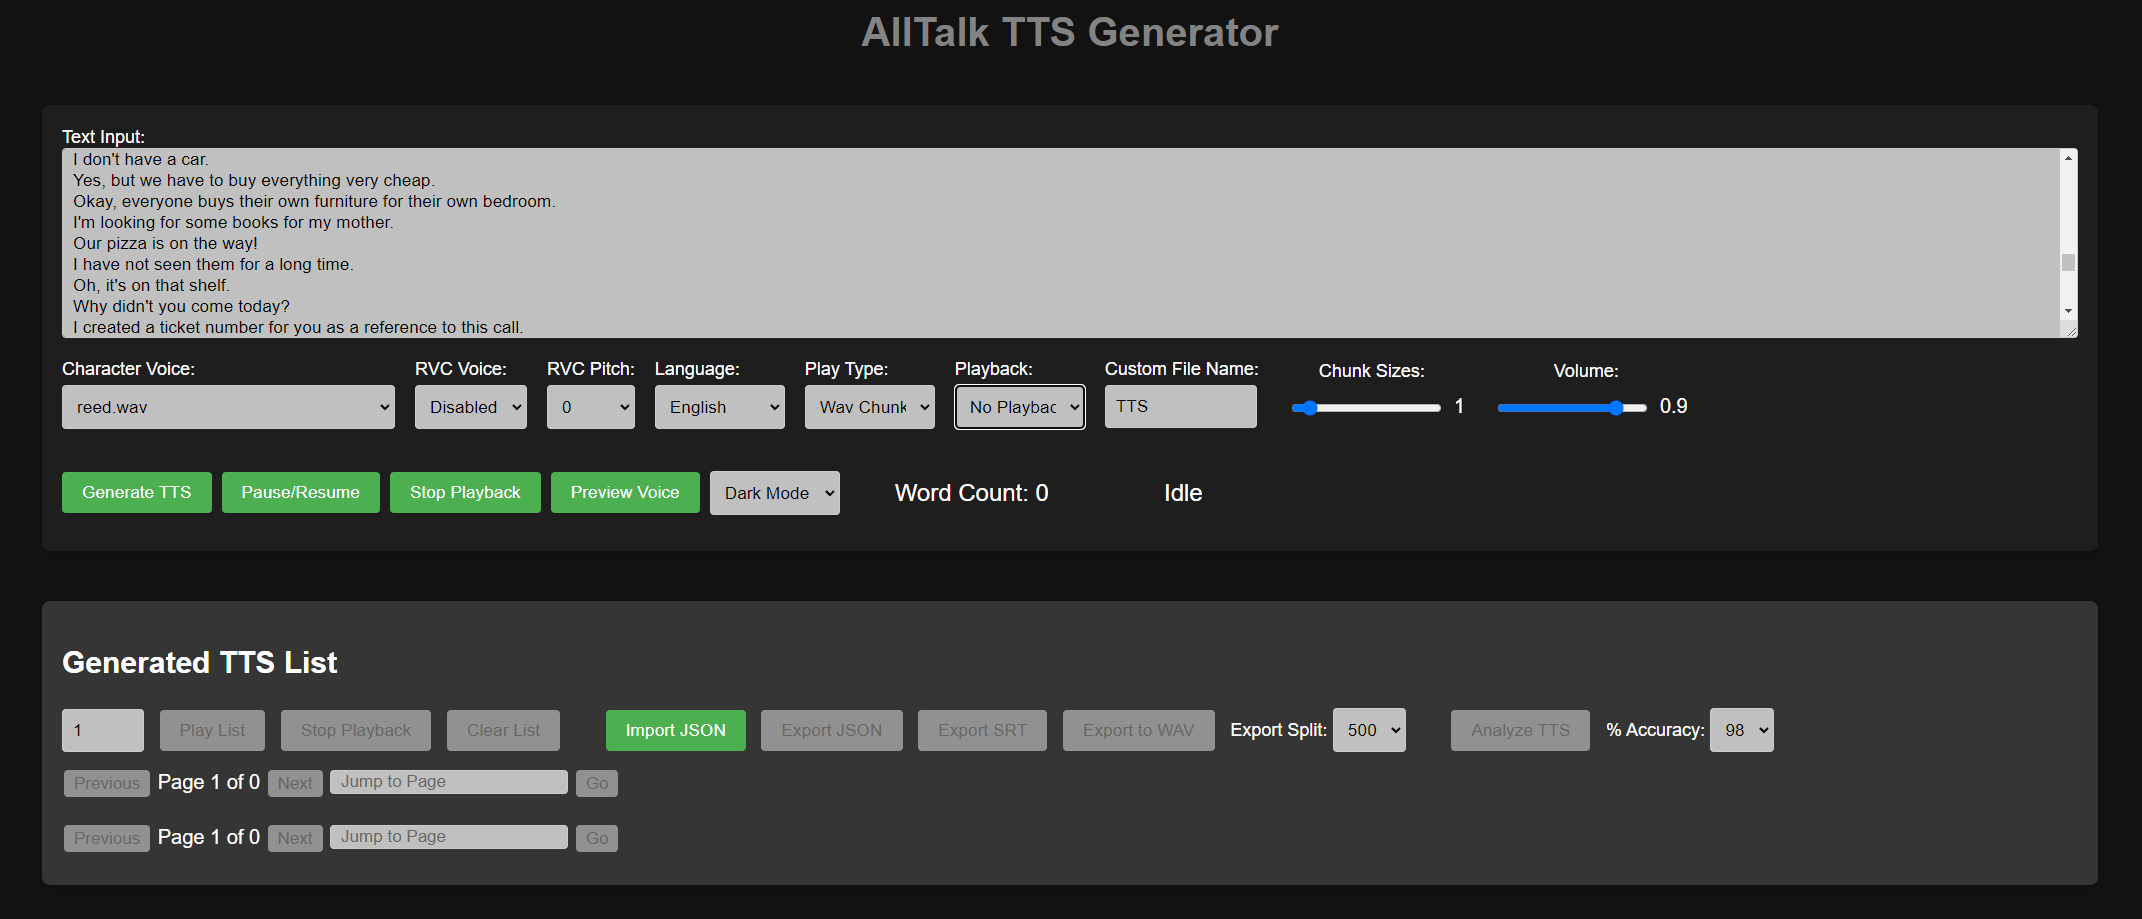Screenshot
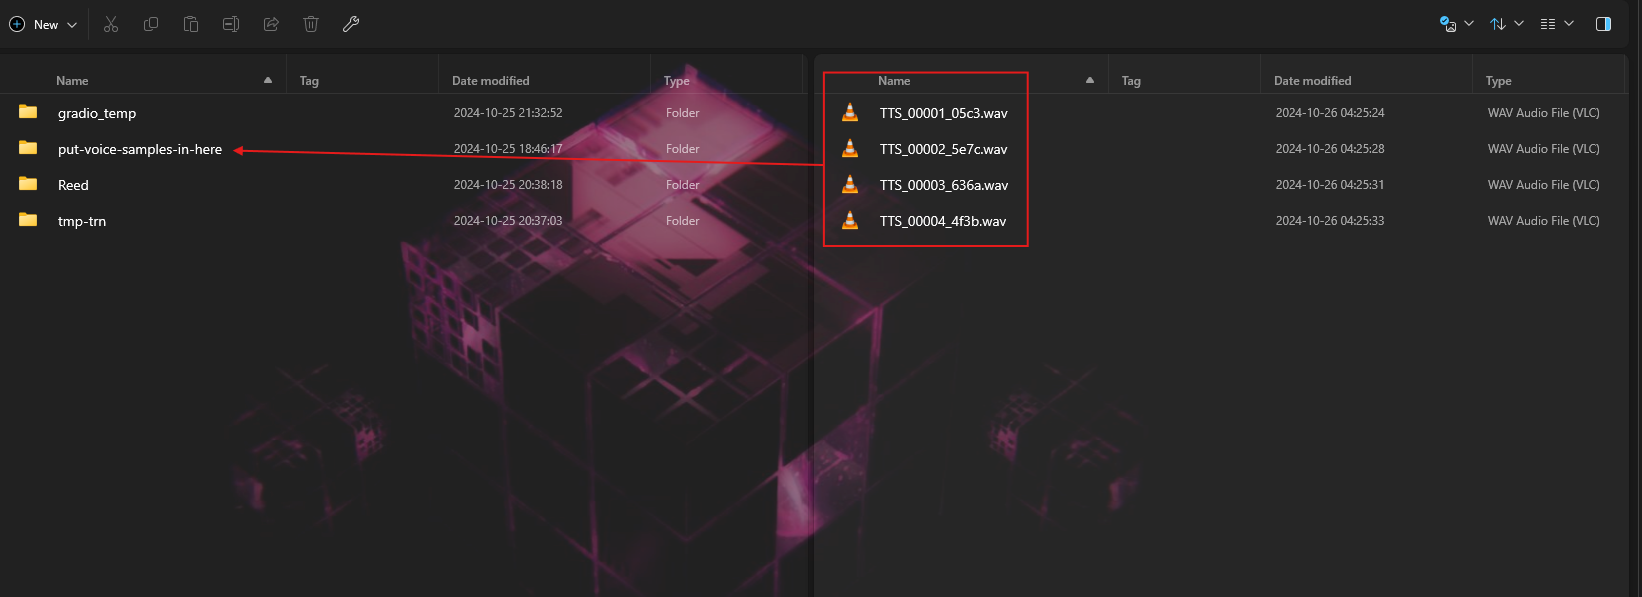Screenshot
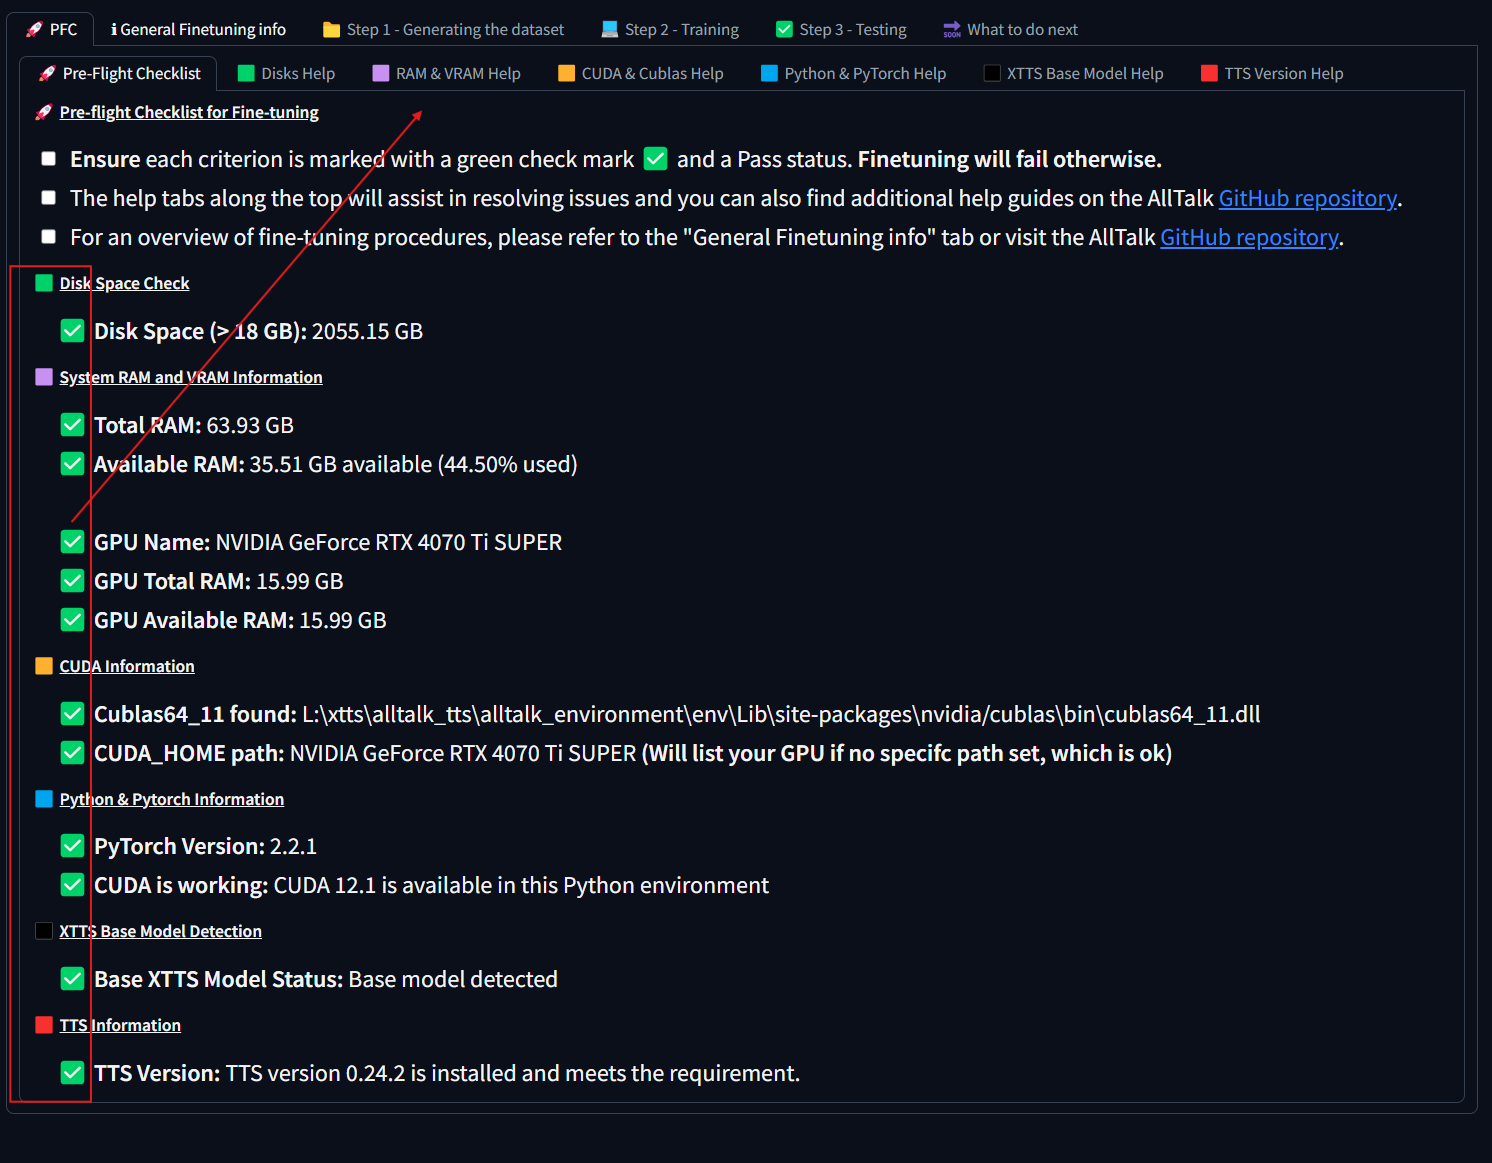Screenshot
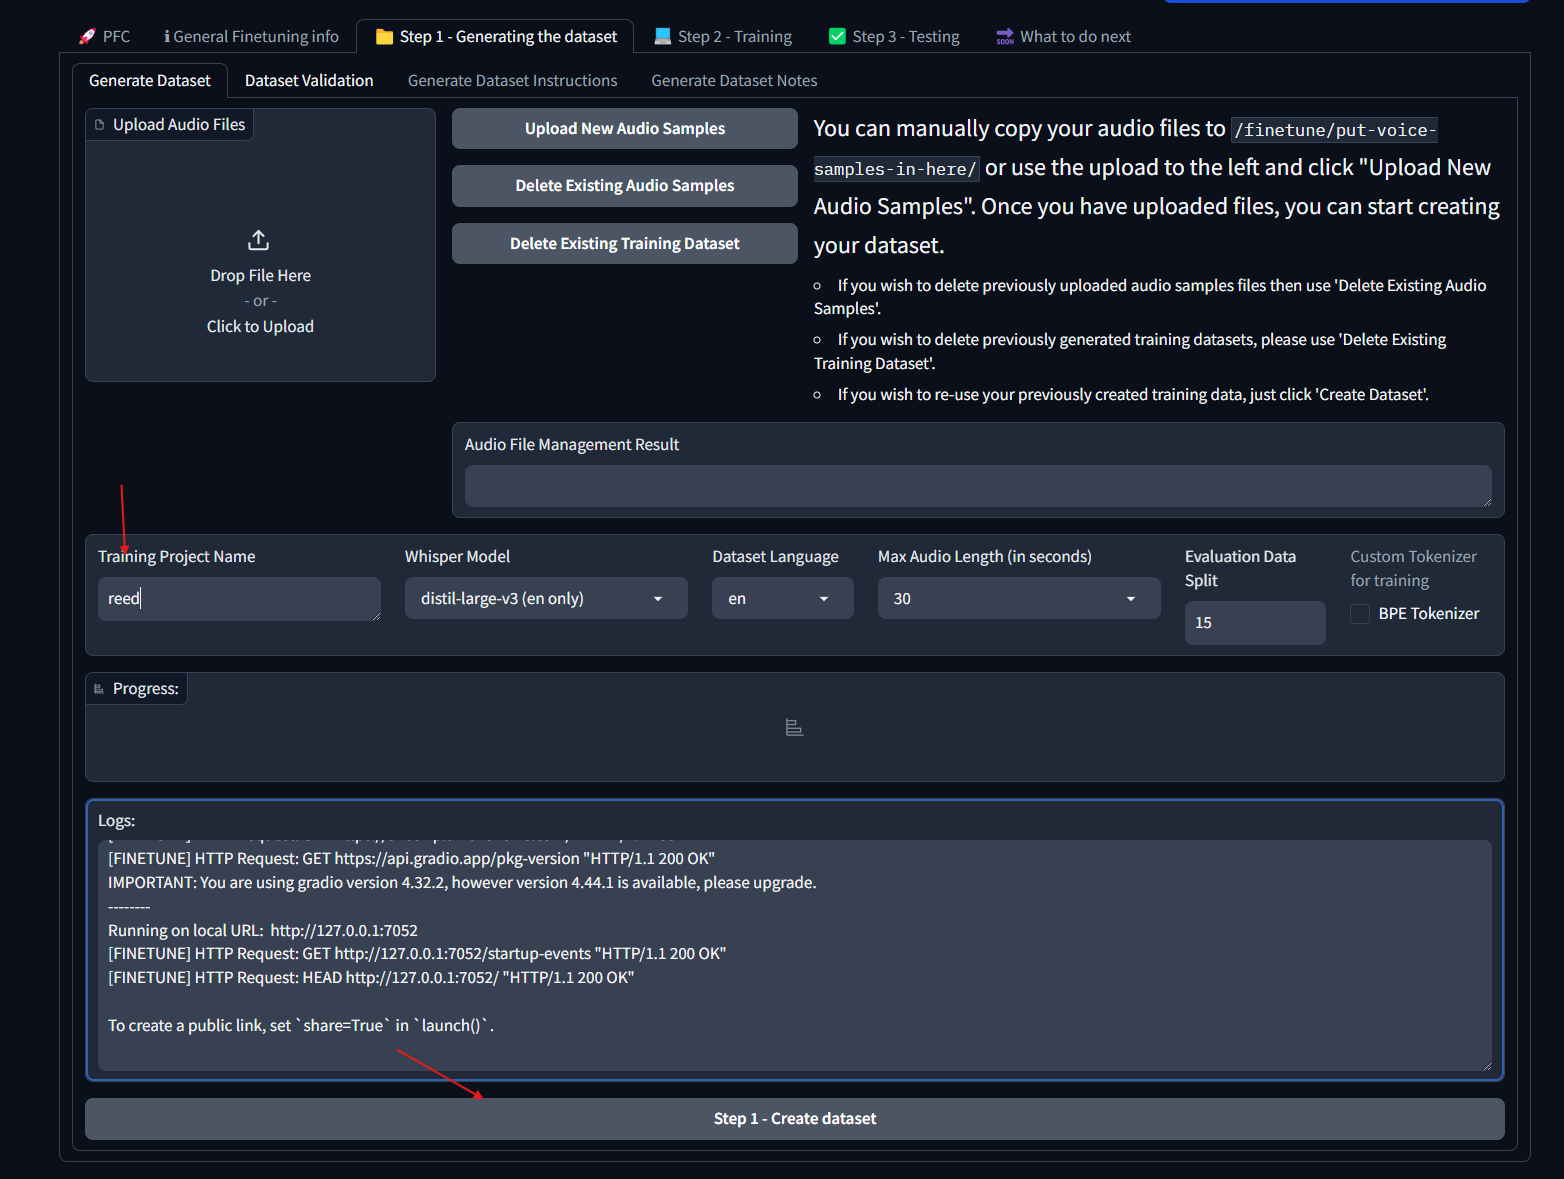Screenshot
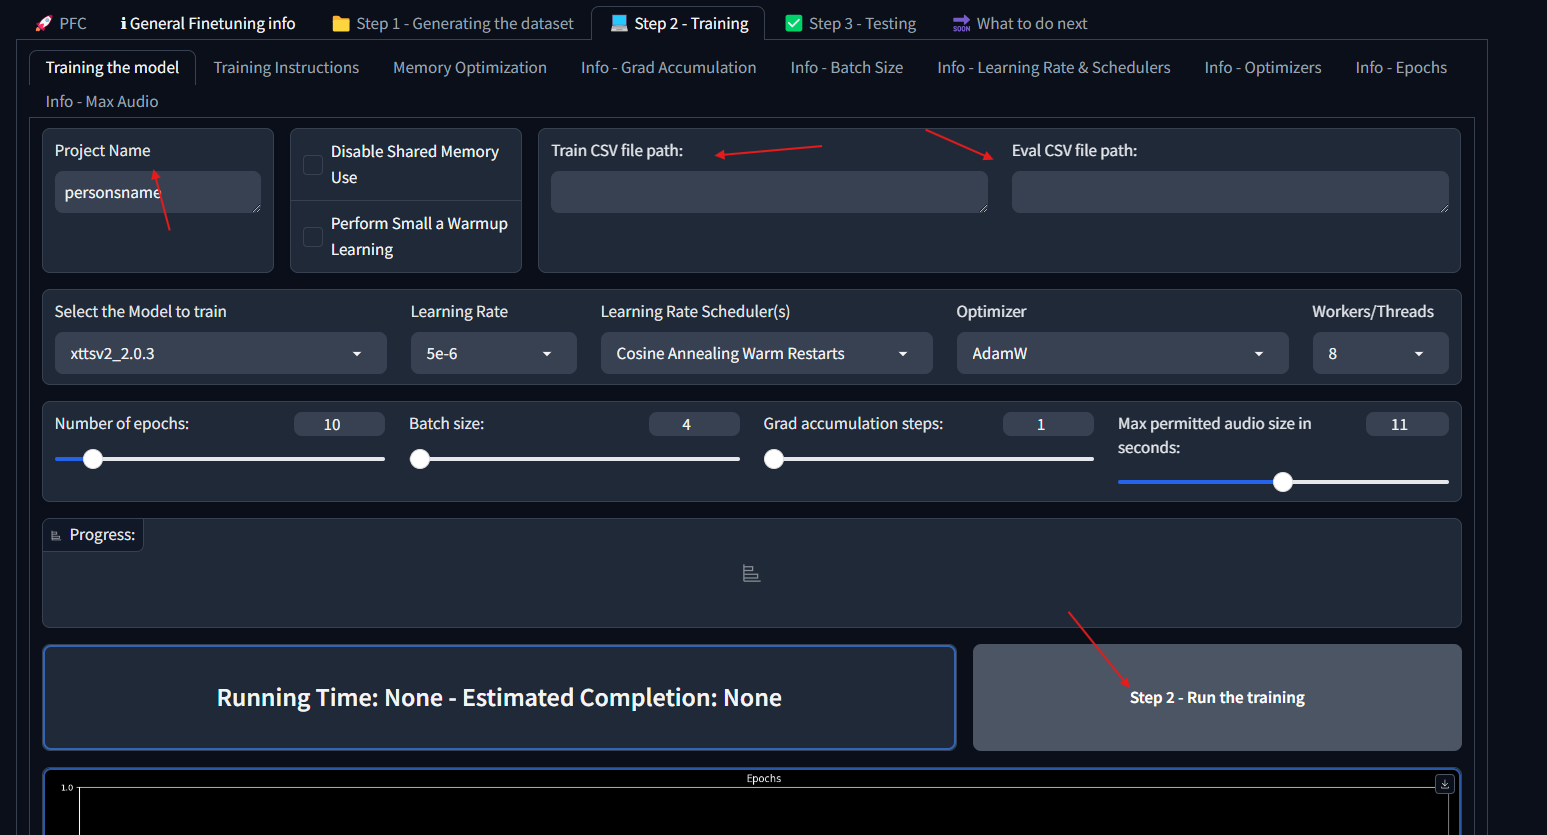Screenshot
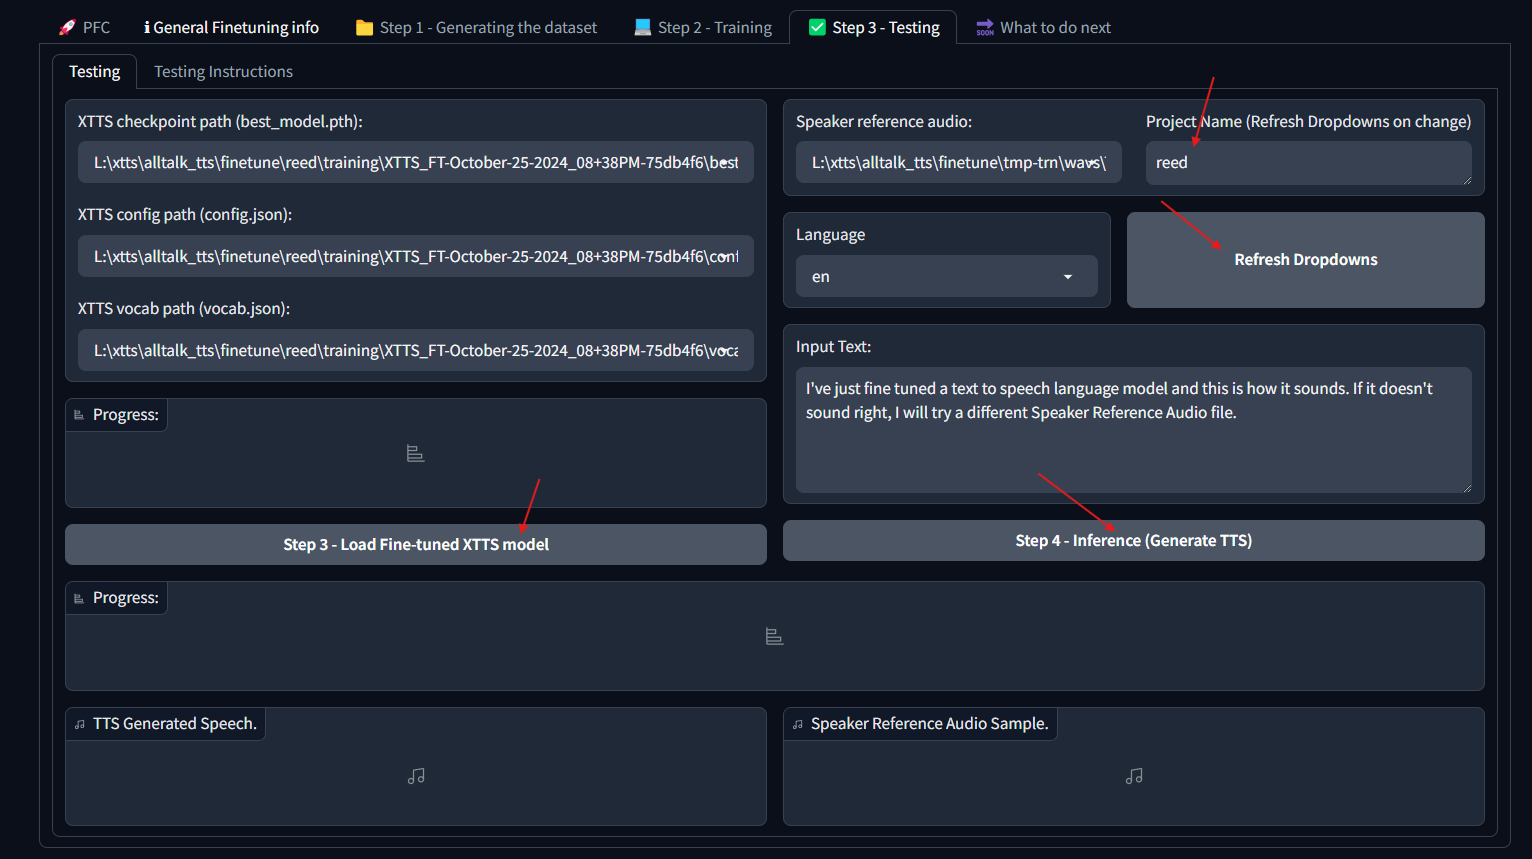Screenshot
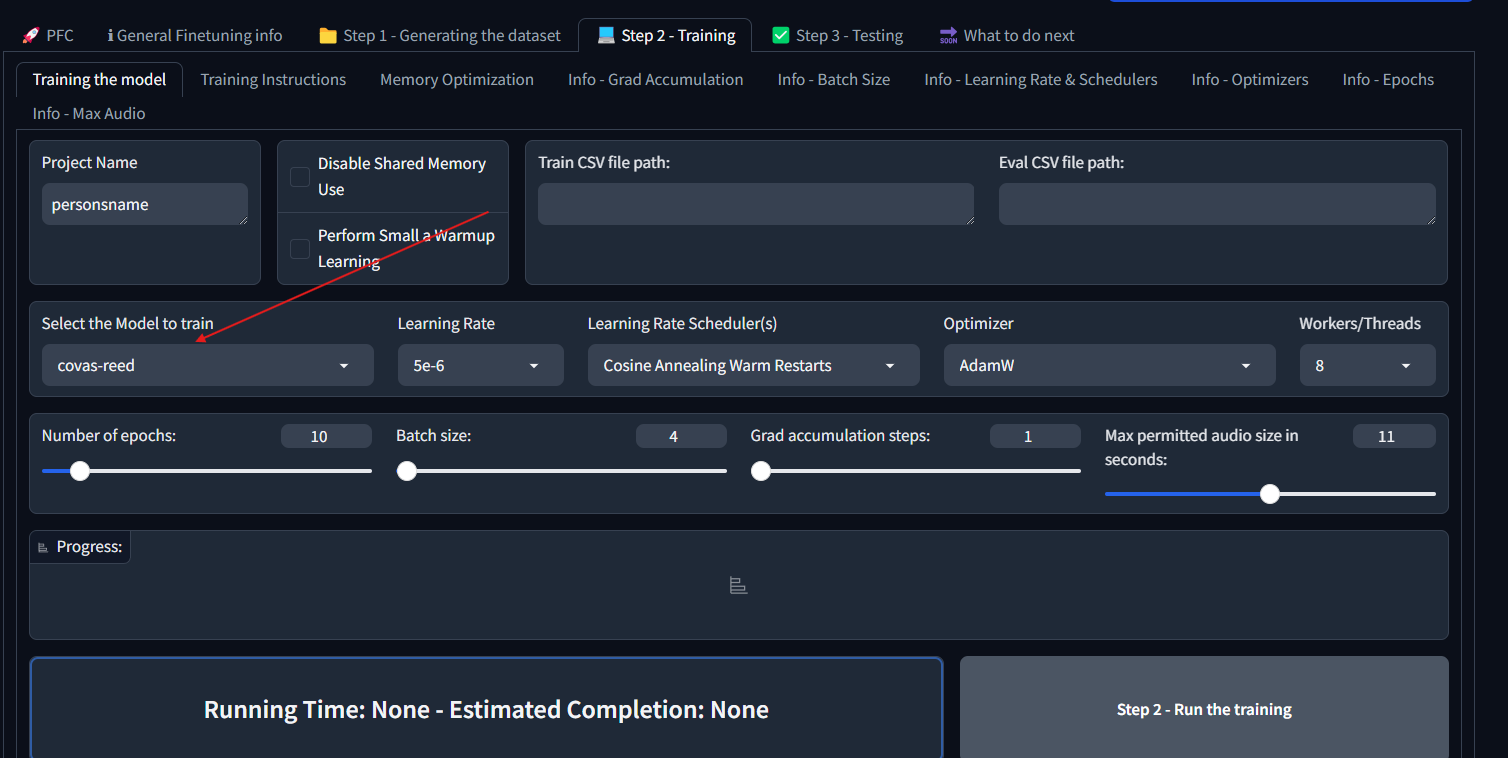Screenshot
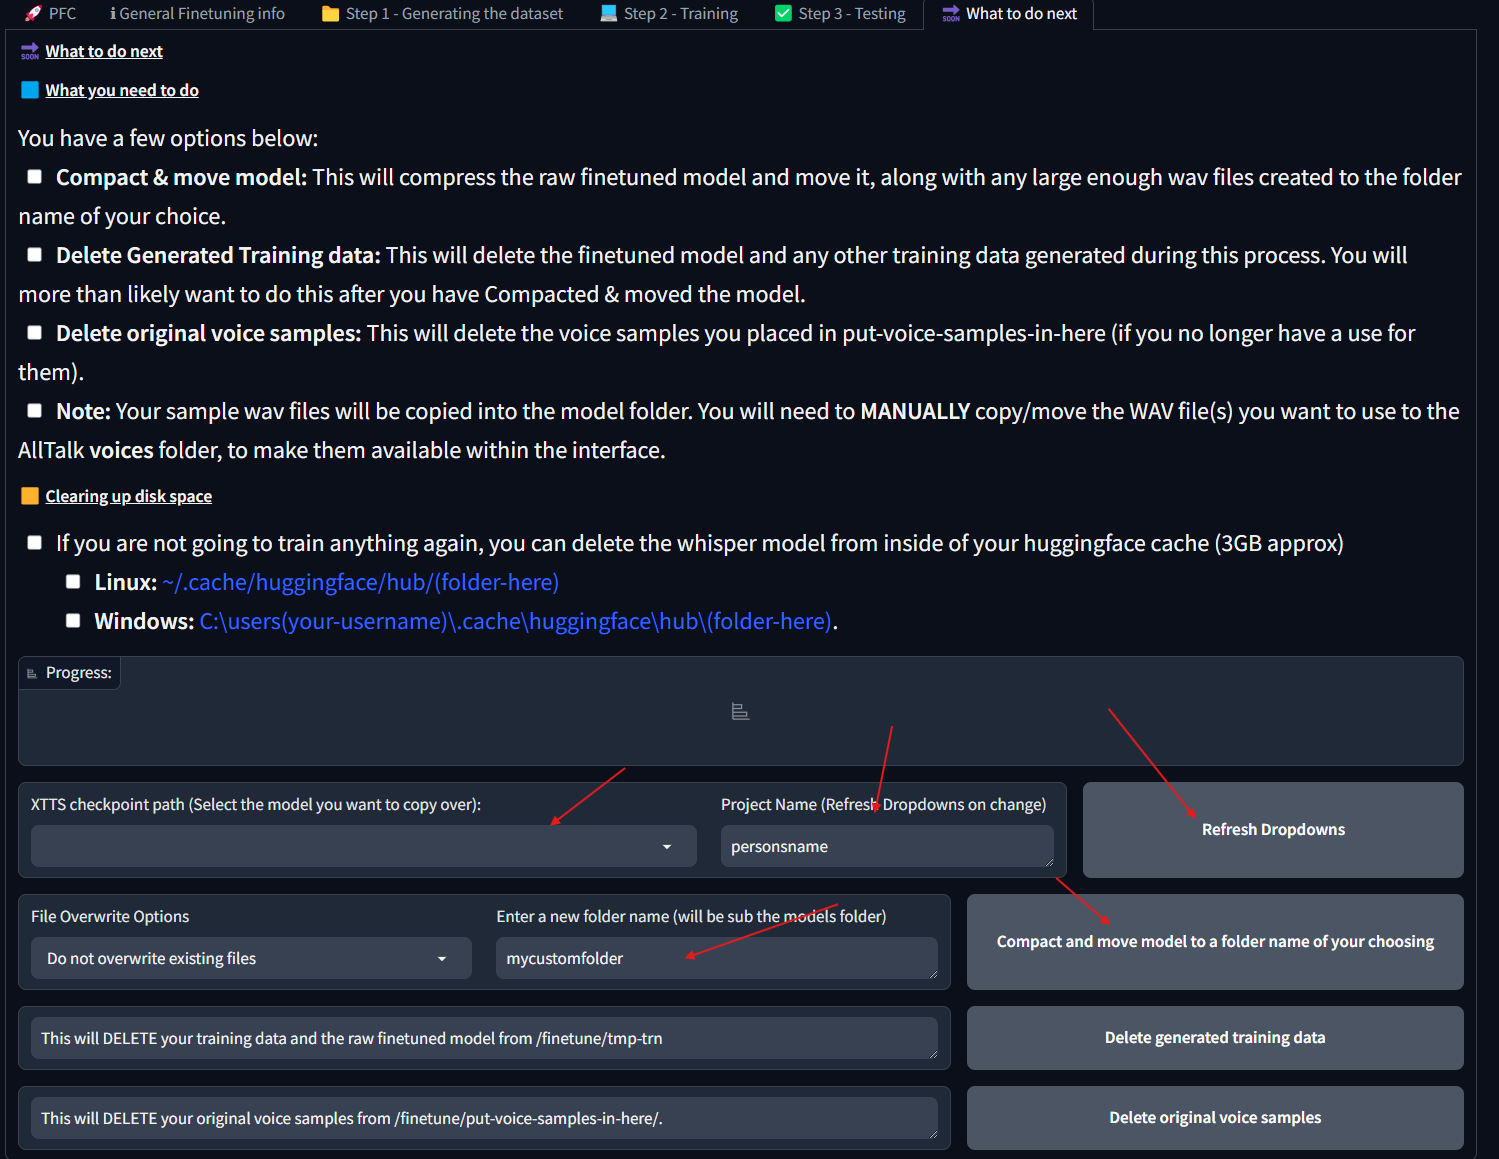Setting up an OpenAI compatable TTS server than can use XTTS models
Preparing for OpenedAI Speech
The server we will be using here is OpenedAI Speech. We're gonna start by opening a WSL terminal from the command prompt, cloning the repo and enter the folder:
wsl -d Ubuntu
git clone https://github.com/matatonic/openedai-speech
cd openedai-speech
OpenedAI Speech Dir
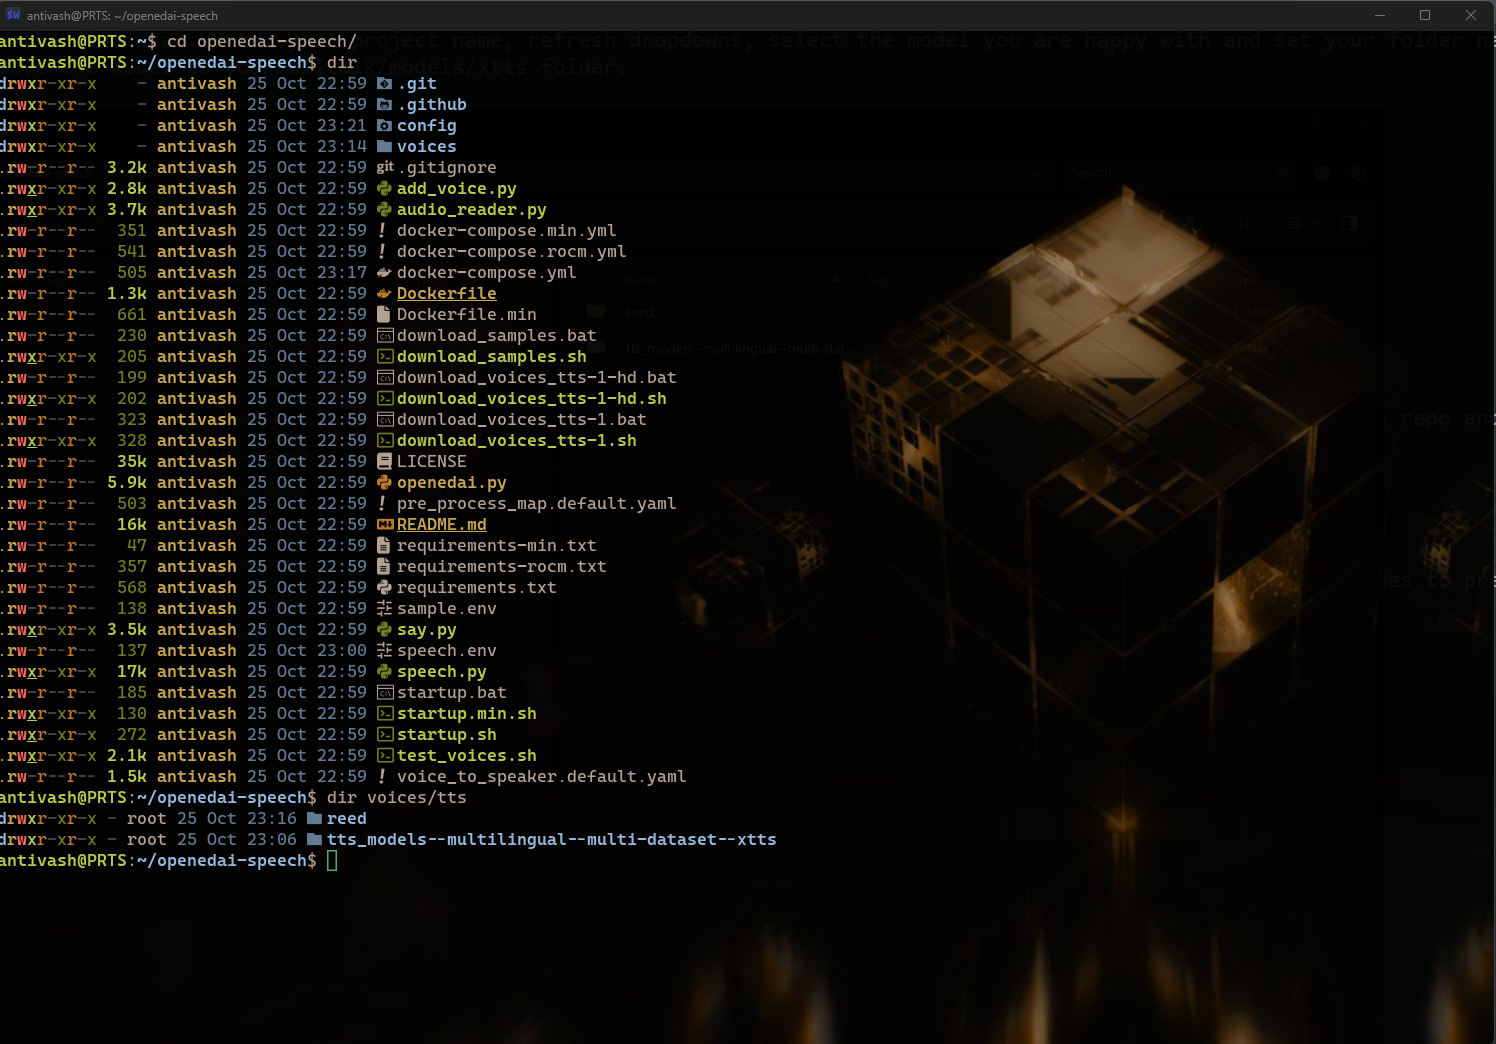Now that we have it cloned, lets go ahead and start the server once to pre-download all of the included models and generate the default configuration files. This will also download all of the sample wavs for the pre-configured voices.
docker compose up
OpenedAI First Run
Now we want to make a copy of sample.env and rename it speech.env. It may also a good idea to edit speech.env and uncomment one of the lines to preload XTTS. You will only want to set one model to preload. If you are using a non-nvidia GPU, you can uncomment the USE_ROCM line. I don't have a non-nvidia card, so I cannot attest to its performance. In addtion, the below includes two models with preload to display that you can specify older versions of models. XTTS and XTTS_V2.0.2 being the latest and older version respectively in this instance.
``` TTS_HOME=voices HF_HOME=voices PRELOAD_MODEL=xtts
PRELOAD_MODEL=xtts_v2.0.2
EXTRA_ARGS=--log-level DEBUG --unload-timer 300
USE_ROCM=1
If you have your own model, you will want to copy it into the voices/tts folder. In order to prepare the setup
We then want to open the voice_to_speaker.yaml in the config folder and add the model beneath the tts-1-hd heading. You can also place a wav file in the voices folder and map it to one of the default voices. An example of both is included in the screenshot below.
<details><summary>OpenedAI Speech Dir</summary>
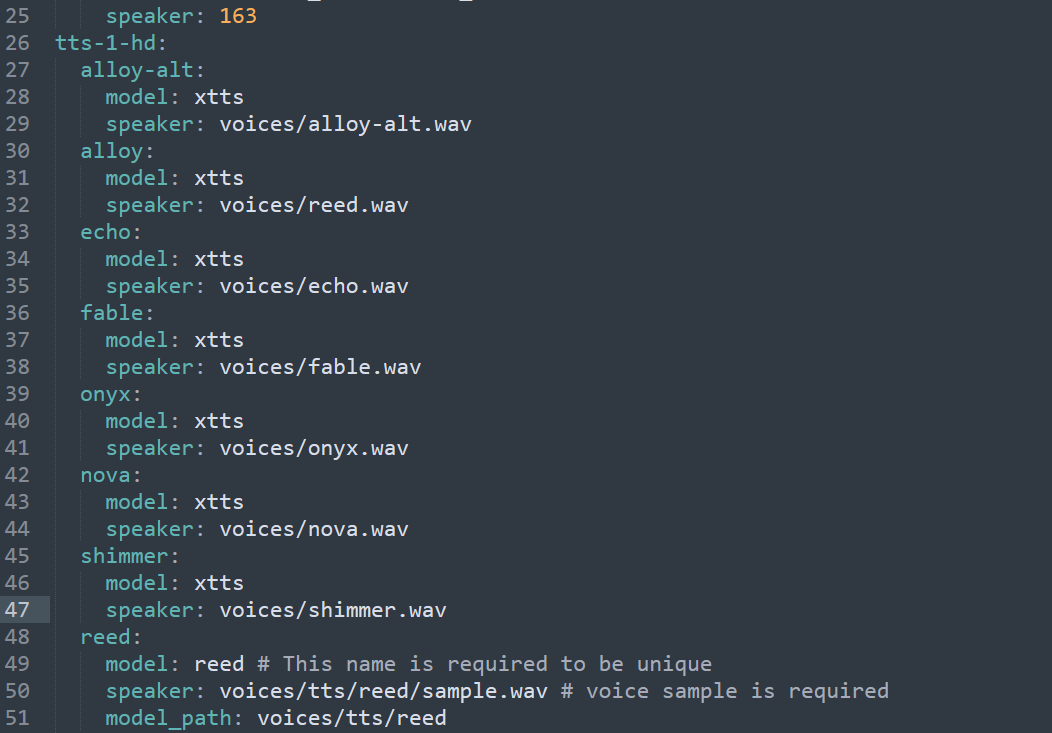
</details>
With everything set up, we can go ahead and restart the server with the same command from above.
<details><summary>OpenedAI running in docker</summary>
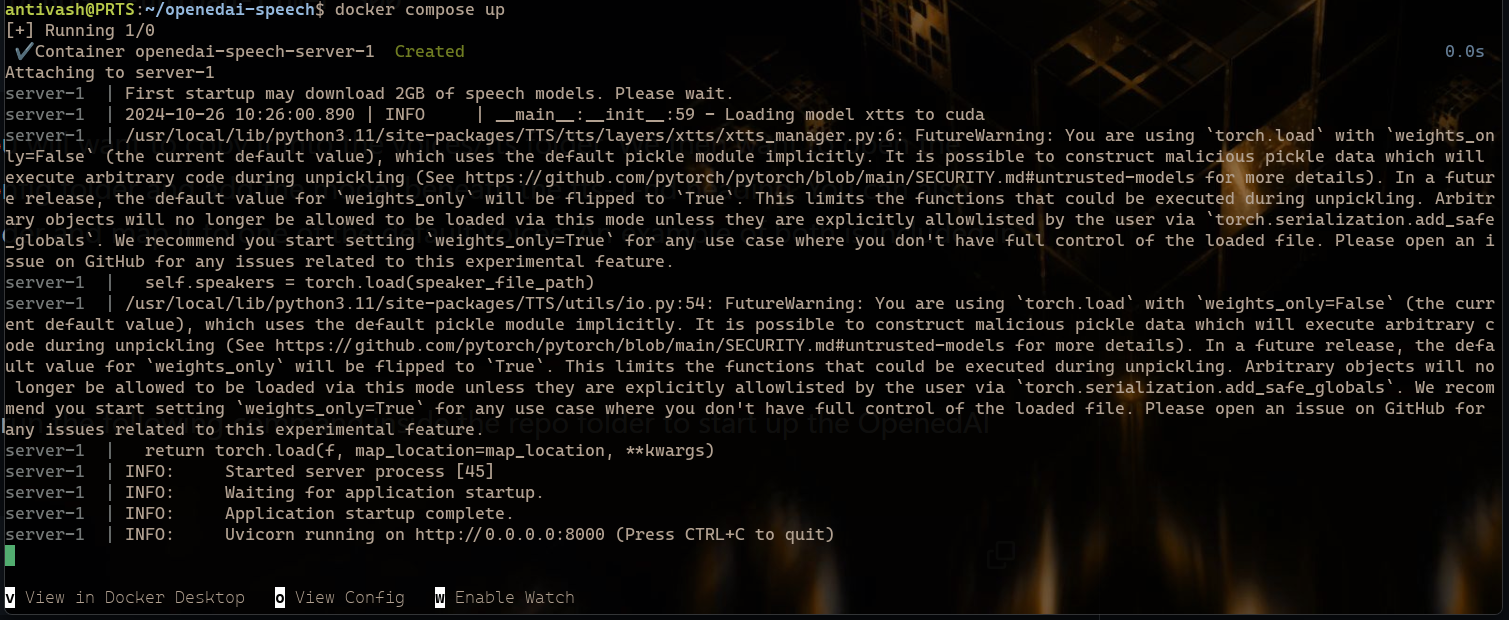
</details>
# Covas
[Download Covas Here!](https://github.com/RatherRude/Elite-Dangerous-AI-Integration)
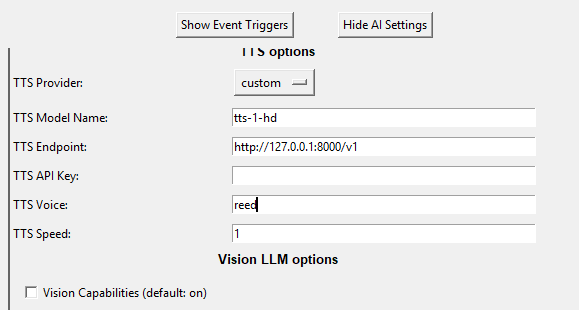
Now that we have the server up and running, we can setup Covas to use it.
```
TTS Model Name: tts-1-hd
TTS Endpoint: http://127.0.0.1:8000/v1
```
For your TTS voice, it is going to be what is set in the voice_to_speaker.yaml file. As examples:
```
shimmer:
model: xtts
speaker: voices/shimmer.wav
reed:
model: reed # This name is required to be unique
speaker: voices/tts/reed/sample.wav # voice sample is required
model_path: voices/tts/reed
If I enter shimmer, Covas will use the pre-configured shimmer voice. If I use reed, it will use my custom Reed model.
Covas TTS settings
Potential issue with Alltalk
While setting up Alltalk, I ran into an issue with it not finding a DLL, specifically cudnn_cnn64_9.dll, despite it being in the alltalk env. To resolve the issue, I had to add the correct folder to my environment variables. You can do so by going to System > About > Advanced System Settings > Environment Variables > Path > New and then add the correct folder, where ever they may be for you.